Why not manage your finances with your own ideas? KAKEIBO PRO and KAKEIBO LiGHT offer MY PAGE, which allows you to add memos, insert images, create calendars and graphs, and more. You can also set the main and sub-colors of the tool based on your preferences, enabling you to create your own personalized household account book. Choose a color theme that makes managing your household finances enjoyable and makes your daily finances easier to read and colorful!
KAKEIBO PRO and KAKEIBO LiGHT are ideal tools for personalized household budget management. Feel free to customize them to suit your lifestyle! This guide highlights the tool’s useful features.
Language: English Japanese
1. MY PAGE
The tool allows you to customize MY PAGE by adding memos, inserting images, creating calendars and graphs, and more. You can create your own personalized household account book. Follow these steps:
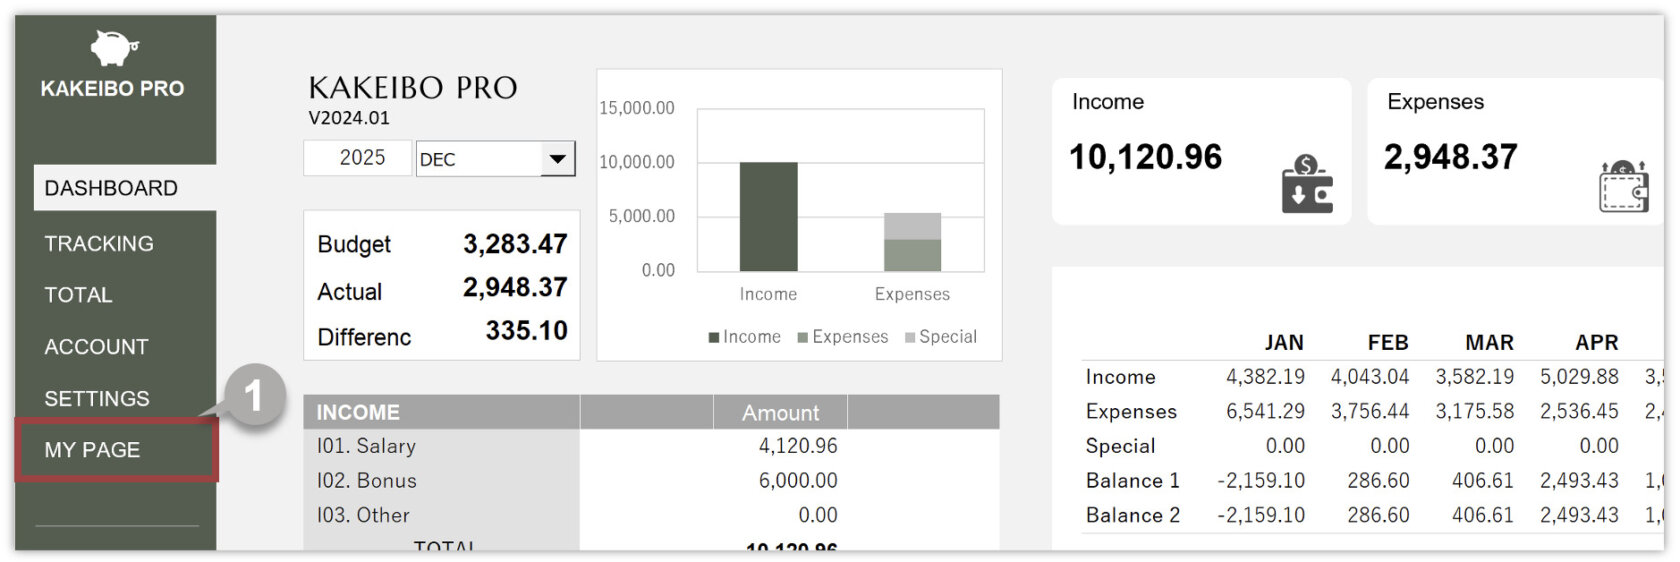
1 Click MY PAGE in the main menu.
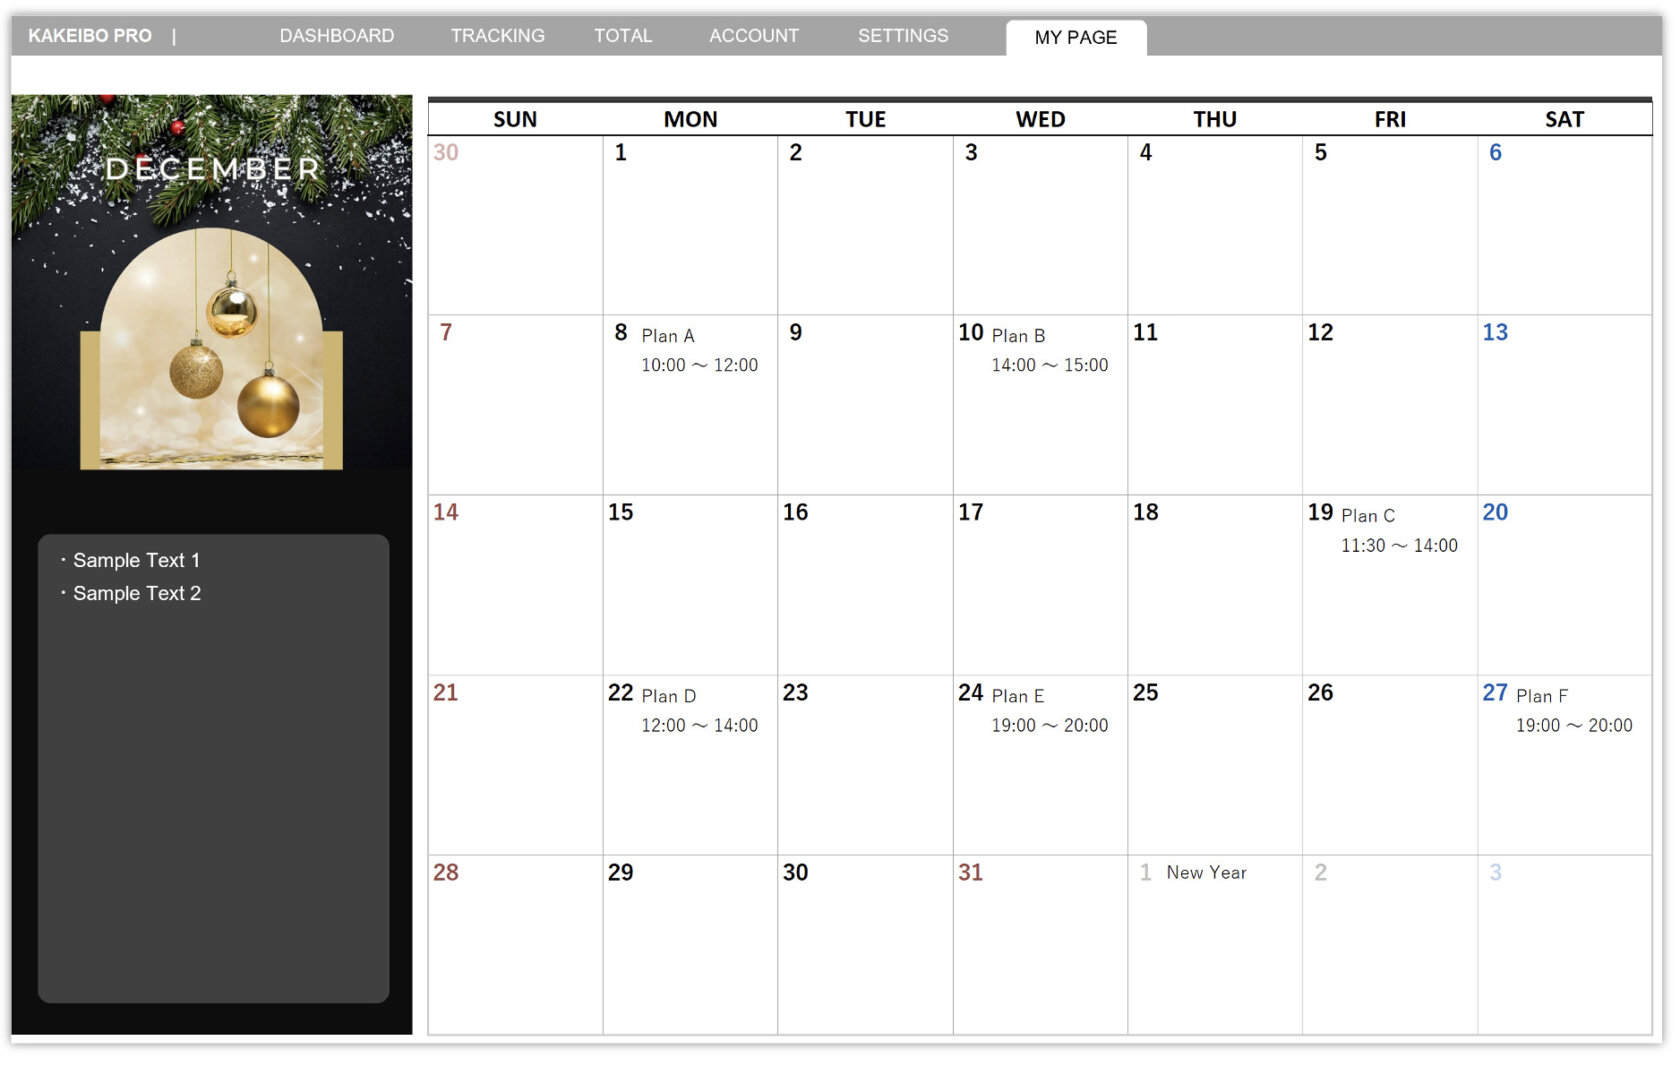
2 My PAGE will appear.
3 Customize it by adding memos, inserting images, creating calendars, graphs, and more. You can create a calendar, record expenses and events, and use it as a schedule management tool, as shown in the image below.
2. Advanced Settings
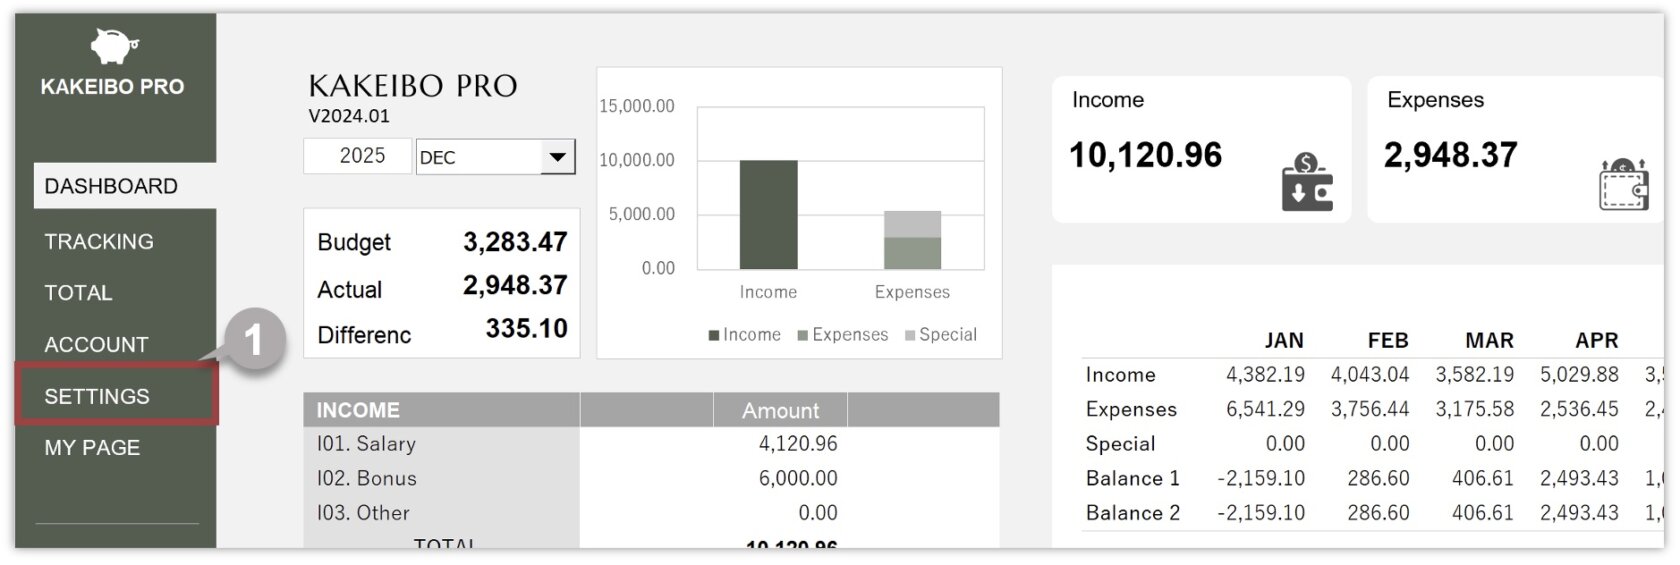
The tool offers flexible customization features, including the ability to freely set main and sub-colors, and easily add multiple rows and columns to income and expense data entry sheets. To access Advanced Settings, click on SETTINGS in the main menu, then select Advanced under the SETTINGS group.
2-1 Setting Tool Colors
You can set the main and sub-colors of the tool based on your preferences. Change the colors seasonally for a fresh look. Choose a color theme that makes managing your household finances enjoyable and makes your daily finances easier to read and colorful! Follow these steps to change the main and sub-colors:
1 Select the cell of the color you want to change.
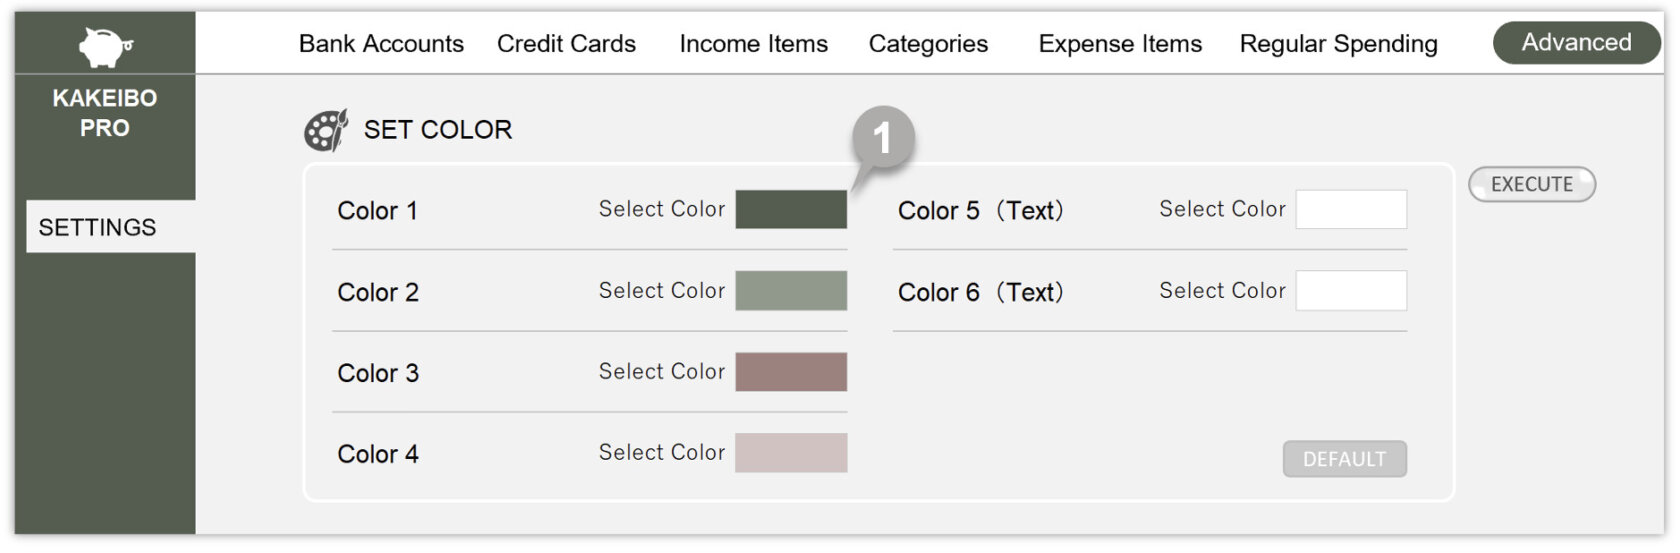
2 On the Home tab, under the Font group, click the arrow next to the Fill Color button and specify the color from the list.
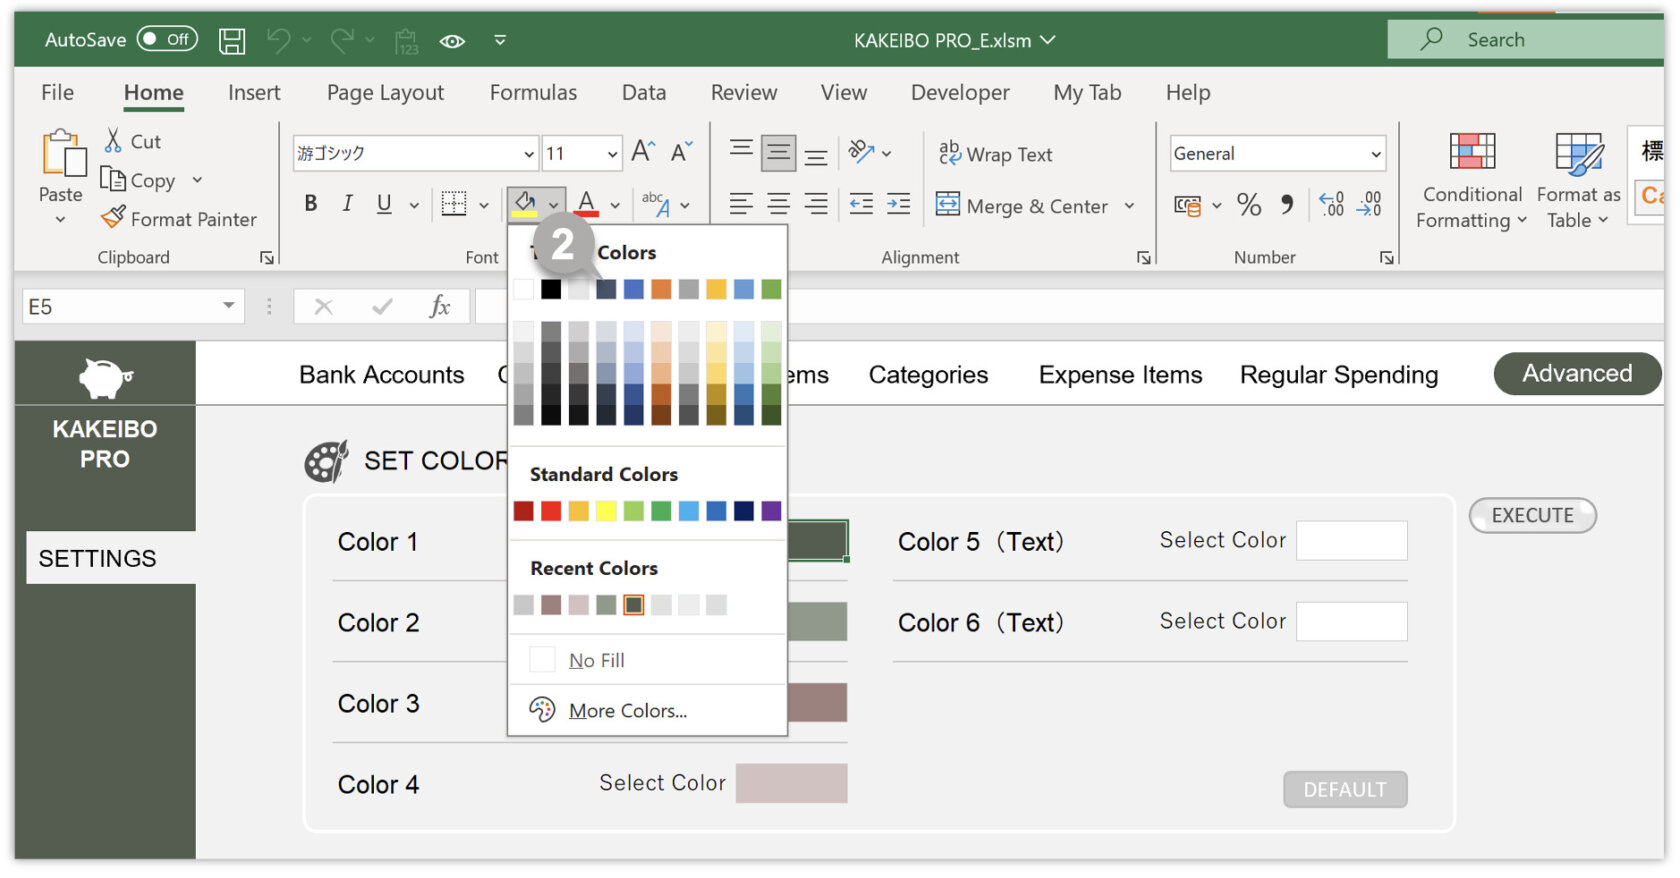
3 Repeat steps 1 and 2 for colors 1 through 6.
4 Click the EXECUTE button.
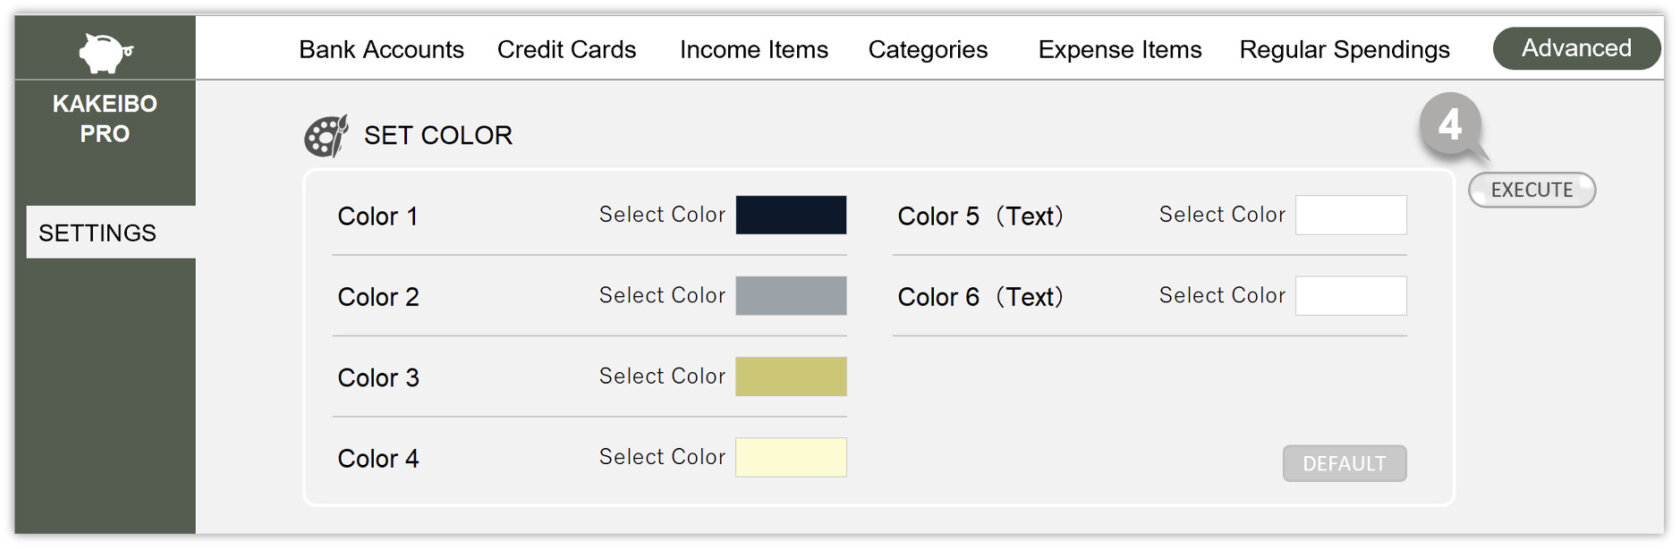
5 A confirmation message will appear. Click OK.
6 The selected cells will change to the specified colors.
DEFAULT
Click the DEFAULT button to reset to the default colors.
2-2 Adding Data Rows
You can add multiple new rows to the income and expense input sheets as needed. This feature is especially useful when migrating data that you have managed on another sheet to this tool. Follow these steps to add multiple new rows:
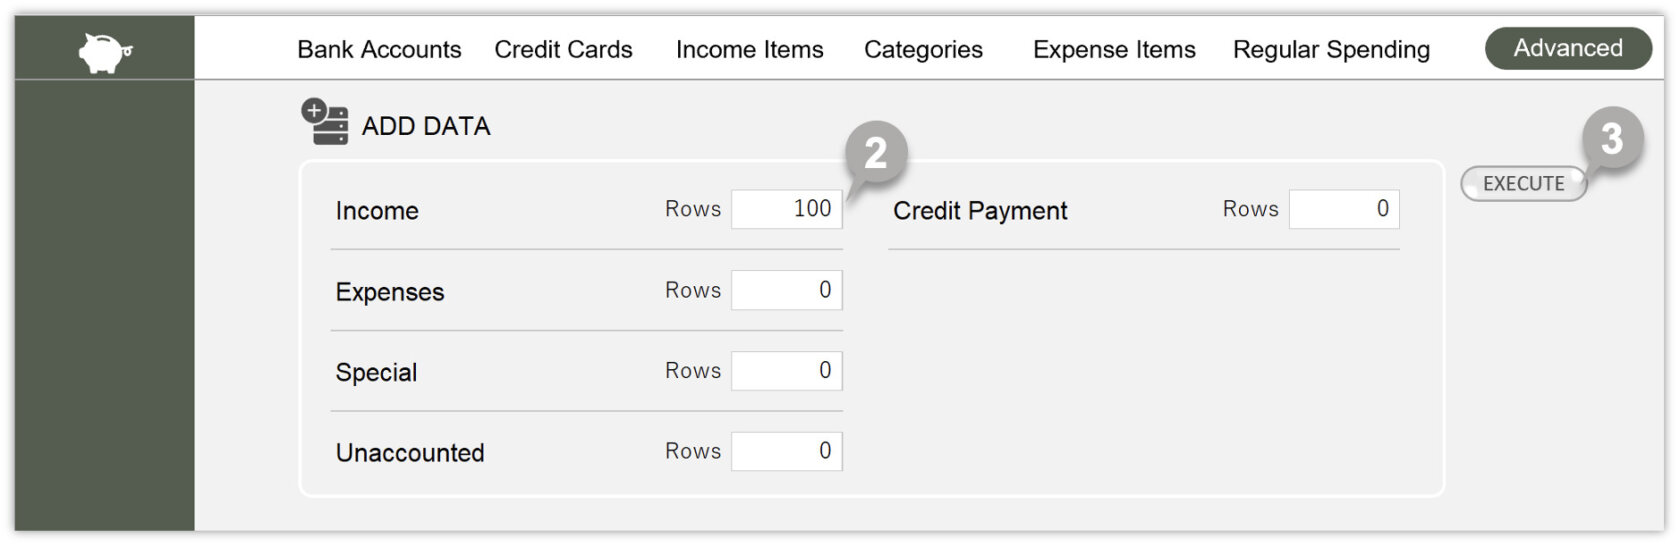
1 Scroll down the screen.
2 Enter the number of rows to add for the target sheet.
3 Click the EXECUTE button.
4 A confirmation message will appear. Click OK.
5 The new rows will be added to the specified sheet. (Navigate to the target sheet to view them.)

2-3 Adding Columns
The tool includes a feature that allows you to add up to three columns to the income and expense input sheets, enabling you to track your custom items as well. You can easily customize it to suit your needs. Follow these steps to add columns:
1 Scroll down the screen.
2 Enter the number of columns to add for the target sheet.
3 Click the EXECUTE button.

4 A confirmation message will appear. Click OK.
5 The new columns will be added to the specified sheet. (Navigate to the target sheet to view them.)
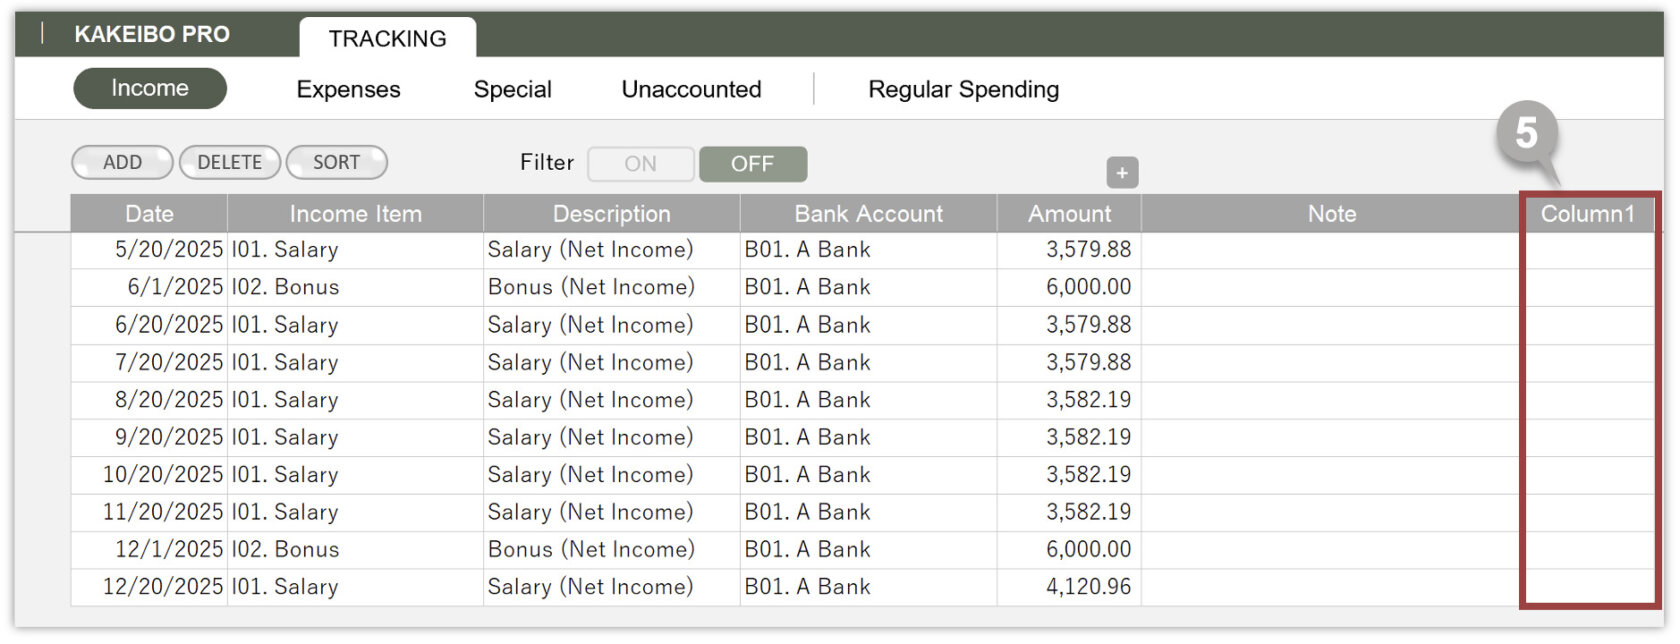
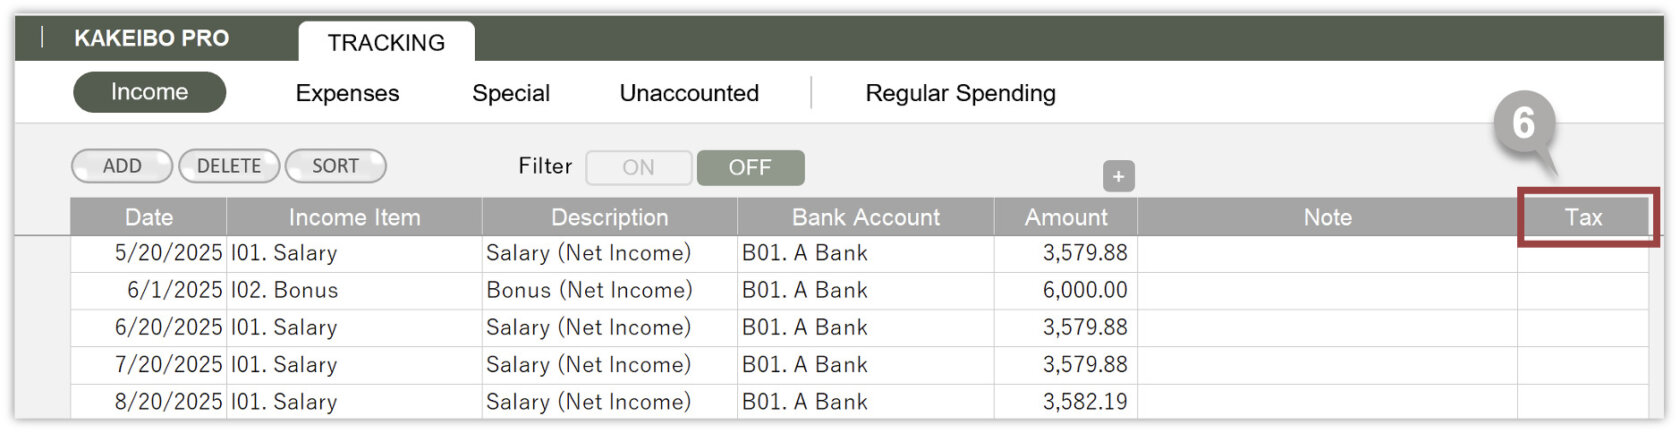
6 Edit the column names.
How do I delete a column?
1 Unprotect the target sheet. Refer to 2-4. Protect and Unprotect Sheet for instructions on unprotecting a sheet.
2 Navigate to the target sheet.
3 Select the column that you want to delete.
4 On the Home tab, under the Cells group, click the arrow next to the Delete button. Select Delete Sheet Columns from the list.
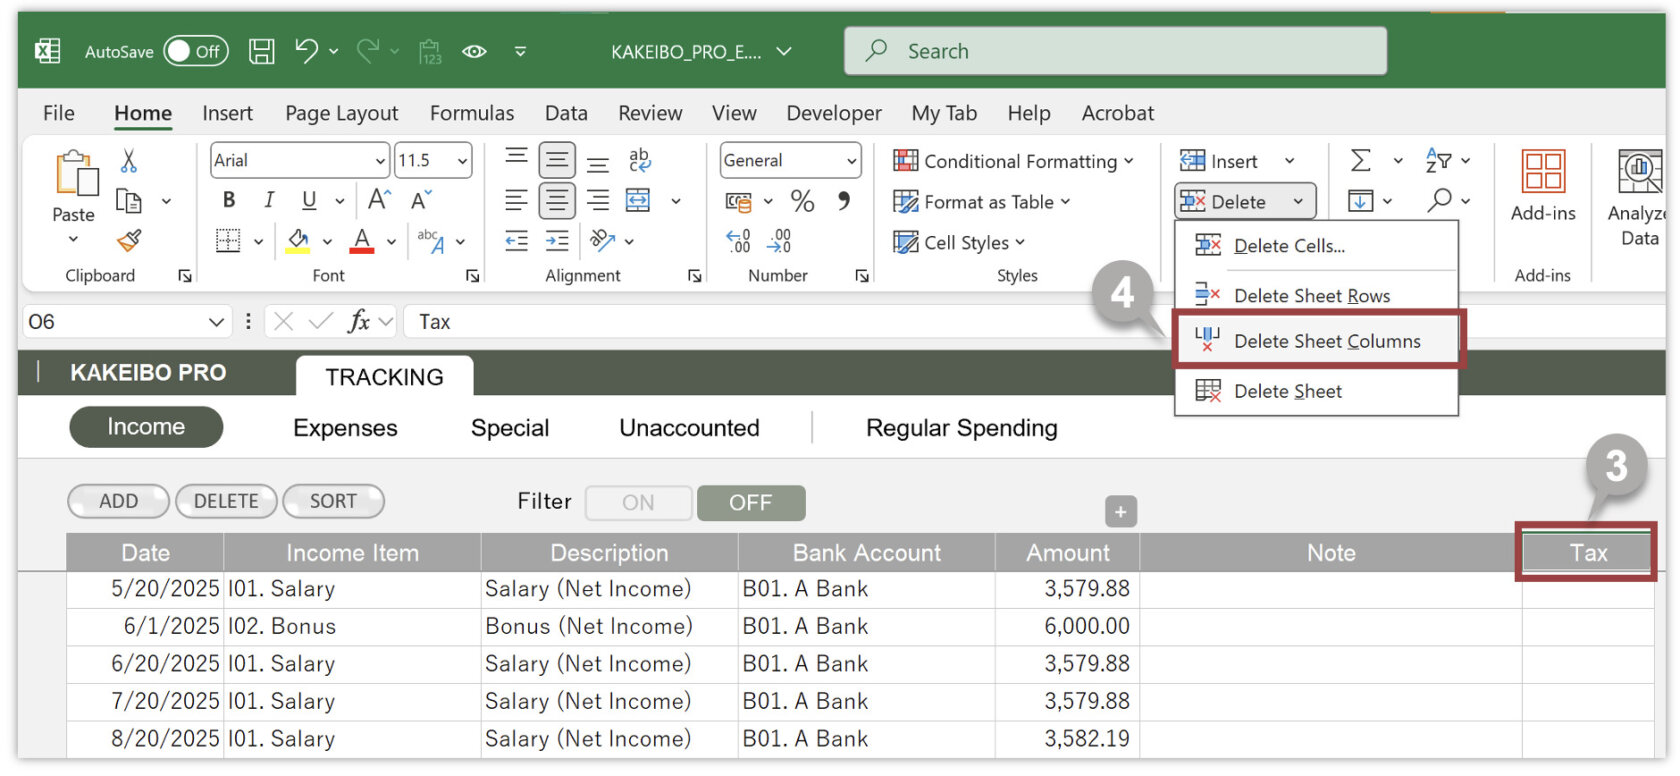
5 The selected columns will be deleted.
2-4 Protect and Unprotect Sheets
This feature allows you to protect or unprotect sheets such as the income and expense input sheets. Follow these steps:
1 Select ON or OFF from the drop-down list for the target sheet.
2 Click the EXECUTE button.

3 A confirmation message will appear. Click OK.
4 The specified sheet will be protected or unprotected.
CONTENTS